Emergency vendors
Vendors is the list of outside companies you call when something cannot wait: the plumber, the locksmith, the restoration company. You can also send a work order to a vendor and review their estimates and invoices.
- Who sees it
- The property manager, the assistant property manager and the maintenance supervisor see the Vendors tile. The property manager level and the supervisor add, edit, pin and delete vendors. The property manager approves estimates and invoices and sees the spend.
- Where to find it
- The Vendors tile on the home screen, and inside a work order.
- What it needs
- The module Emergency vendors turned on in Modules.
What it is for
At 2 a.m. nobody wants to search for a phone number. Pin the vendors you trust, and they show first and on emergency work orders. When the job is bigger, send it to the vendor with a link: no account is needed.
Add and pin a vendor
- Add the vendor
Open Vendors and tap Add vendor. Choose the Trade (plumbing, A/C and heating, electrical, locksmith and doors, water damage, pest control and more), then the Company and the Phone. These two are required. Add a contact person, a second phone, an email, the hours or Available 24/7, and notes.
- Pin it
Turn on Pin for emergencies, or tap Pin on the card. Pinned vendors are under Pinned for emergencies, above All vendors.
- Find one fast
Search by company, trade or phone. Tap Call and confirm with Yes, call: one more tap avoids a call by mistake.
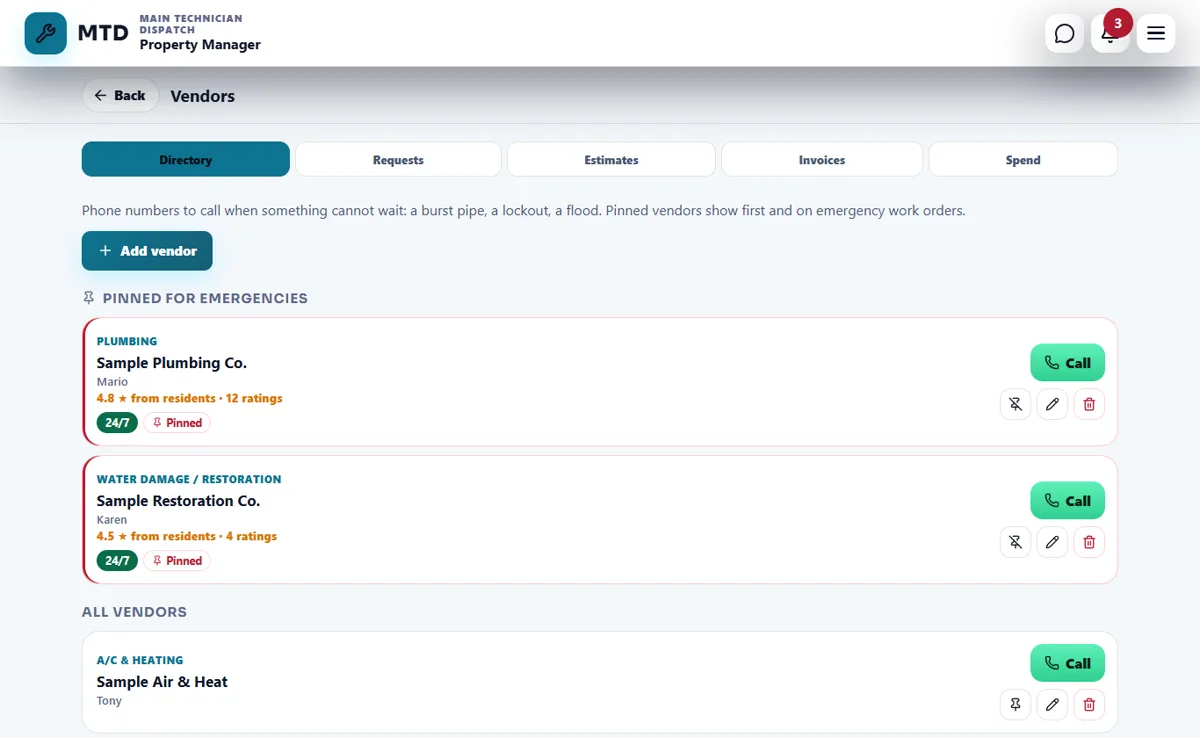
Call a vendor from an emergency order
An emergency work order shows the vendors you pinned with an Emergency vendor label and a Call button. Tap Call and confirm, and the phone dials.
Send an order to a vendor
- Open the order
In the work order tap Send to a vendor. Only the maintenance supervisor and the property manager can do this.
- Choose the vendor and what you need
Pick a Vendor from your list or an Other vendor with a name and an optional email. Under What do you need? choose Do the job, Come see it and send an estimate or Send an estimate, and add a note for the vendor.
- Send the link
Tap Create link, then Copy link or Share and send it by text message. If you typed an email, we also email it. The link needs no account and works for 30 days.
- Follow the job
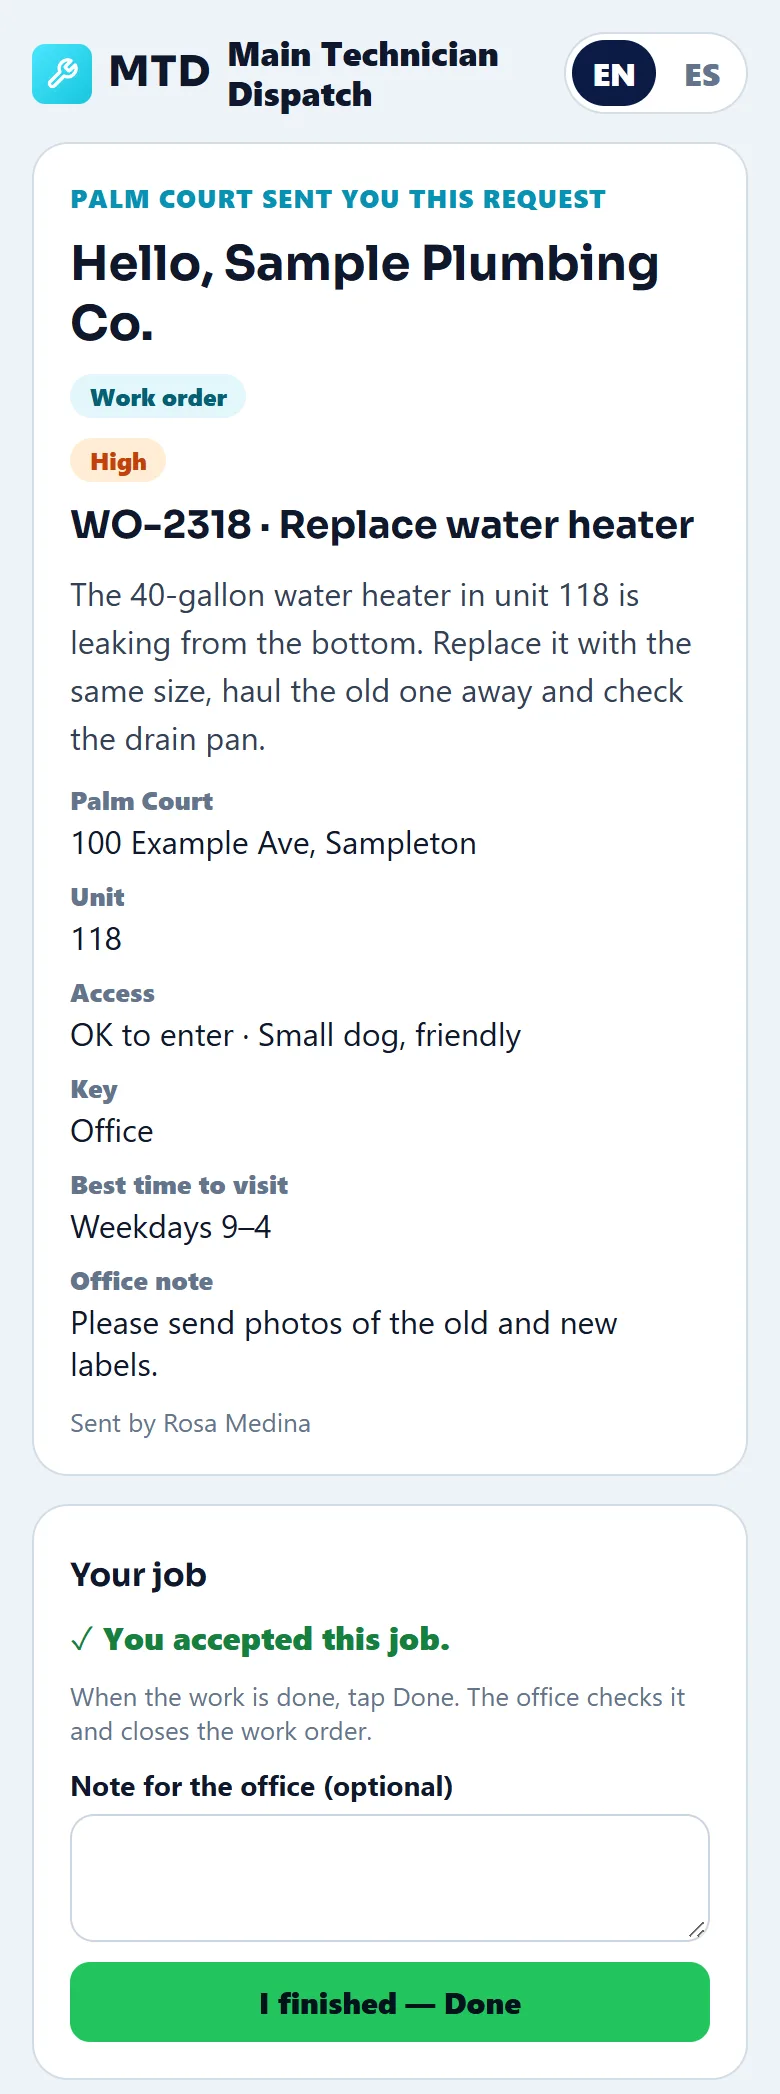
The order shows the vendor's status: Sent, Opened, Accepted, Working, Finished. You can change the status, or cancel the link. When the vendor finishes, the order stays open until you tap Confirm and close the work order.
What the vendor sees
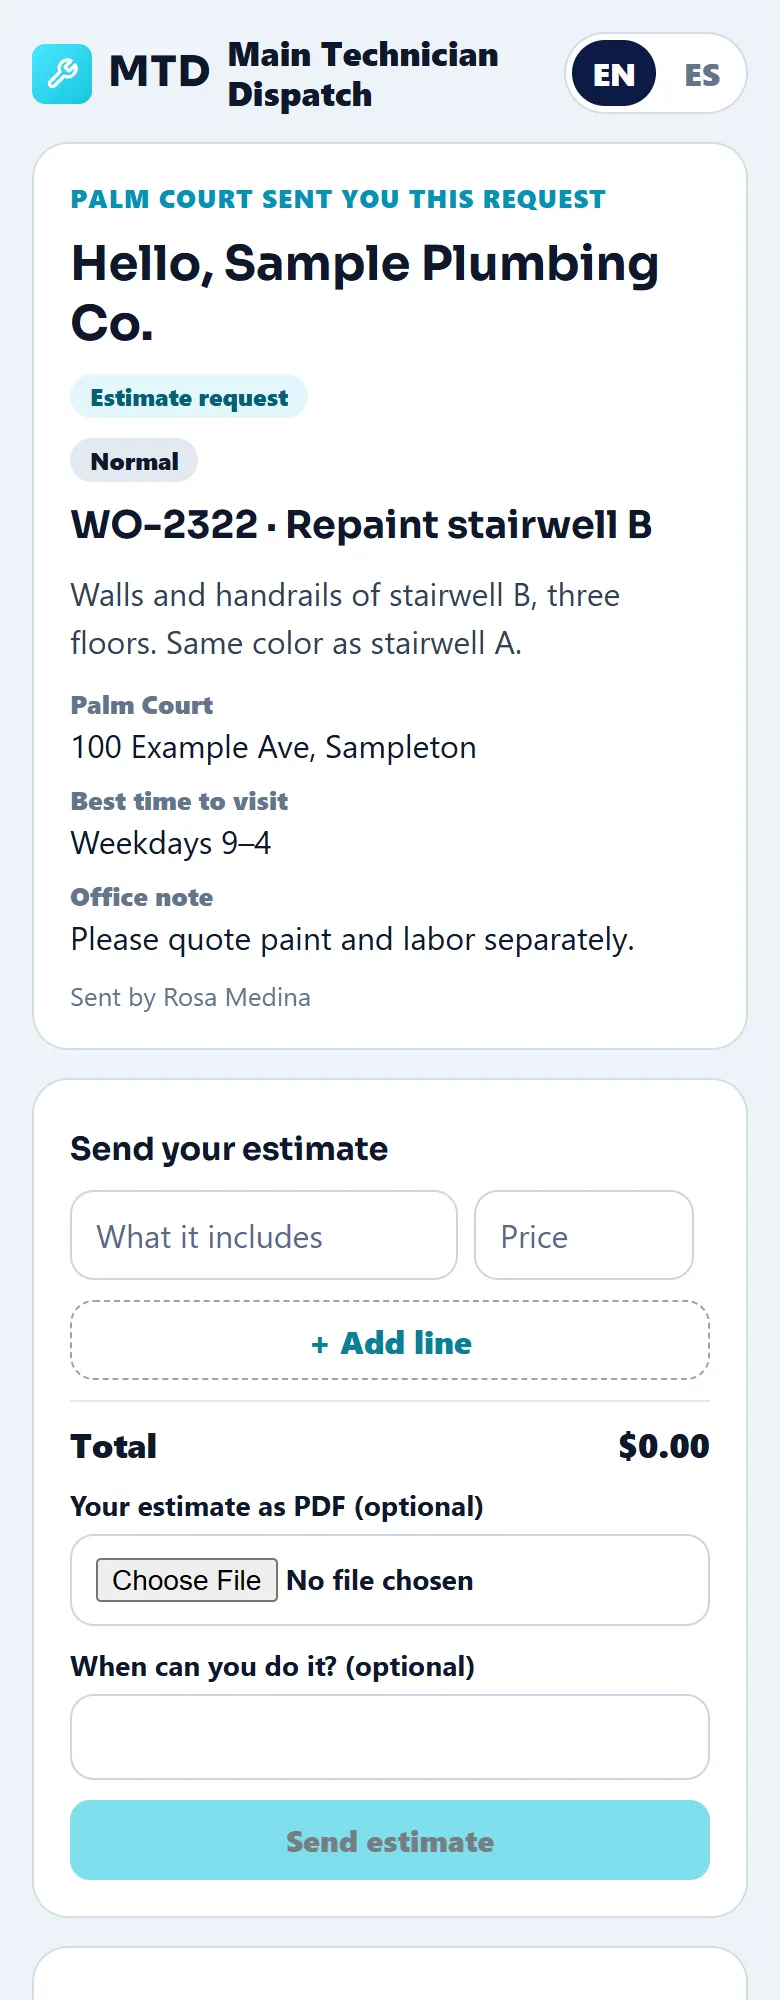
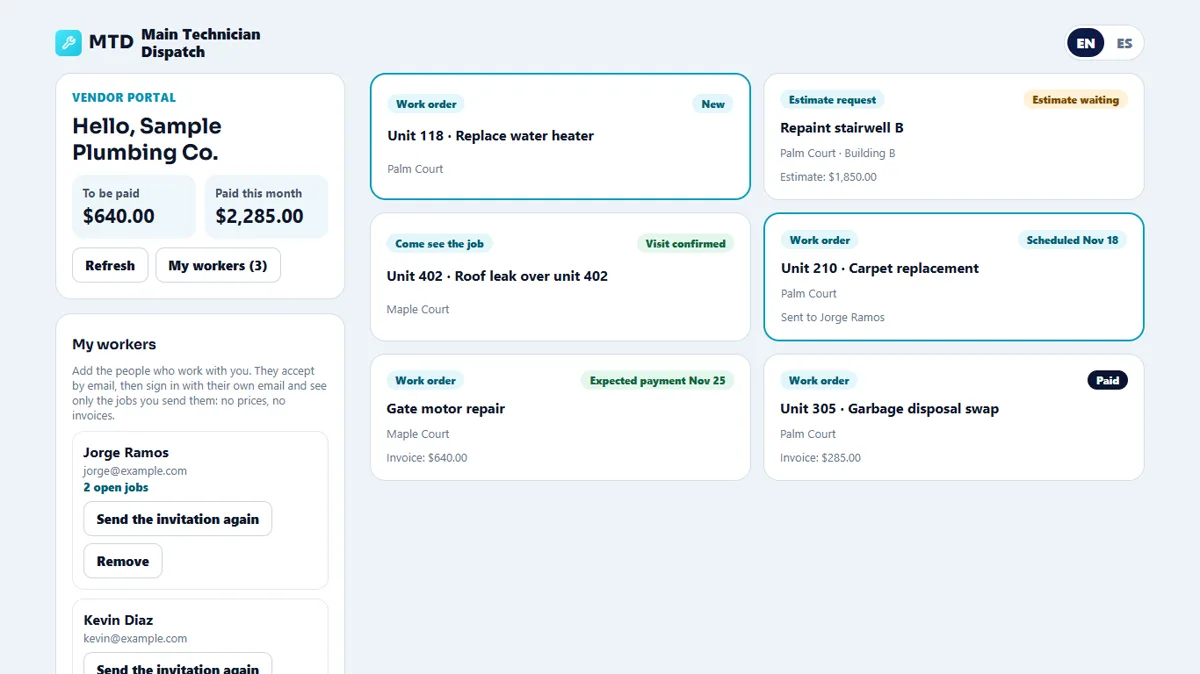
The vendor opens the link and sees who sent it, the unit, the address, your note and the access: whether it is OK to enter and where the key is. A vendor can propose a visit time, send an estimate with lines and a price, accept the job, add photos and notes, and send an invoice. When the job is closed, the access details are no longer shown. A vendor can also open the vendor portal with an email to see all their jobs.
Approve estimates and invoices
- Estimates
Open the Estimates tab. Each estimate shows its lines and its total. Tap Approve, or Reject with an optional reason for the vendor. Only the property manager, or someone with permission, can approve.
- Invoices
In Invoices approve the invoice, or ask for changes. The screen warns when the invoice is higher than the approved estimate. After you pay, tap Mark as paid and add a check or transfer number if you want.
- How this property pays
Set Right away, In some days or Fixed days of the month. Vendors see the expected payment date when you approve their invoice. The Spend tab shows what was spent.
Tips
Pin at least one vendor for each emergency trade, and check the phone numbers every few months. Rating stars from residents appear on a vendor's card when residents rated their work.
When the module is turned off
The Vendors tile disappears and work cannot be sent to a vendor: the app says "Vendors is turned off, so work cannot be sent to a vendor." The vendors and past jobs are kept and come back when the module is turned on again.
Related guides
Ready to try it with your own property?
Create your workspace, add your property and turn on the modules you need.